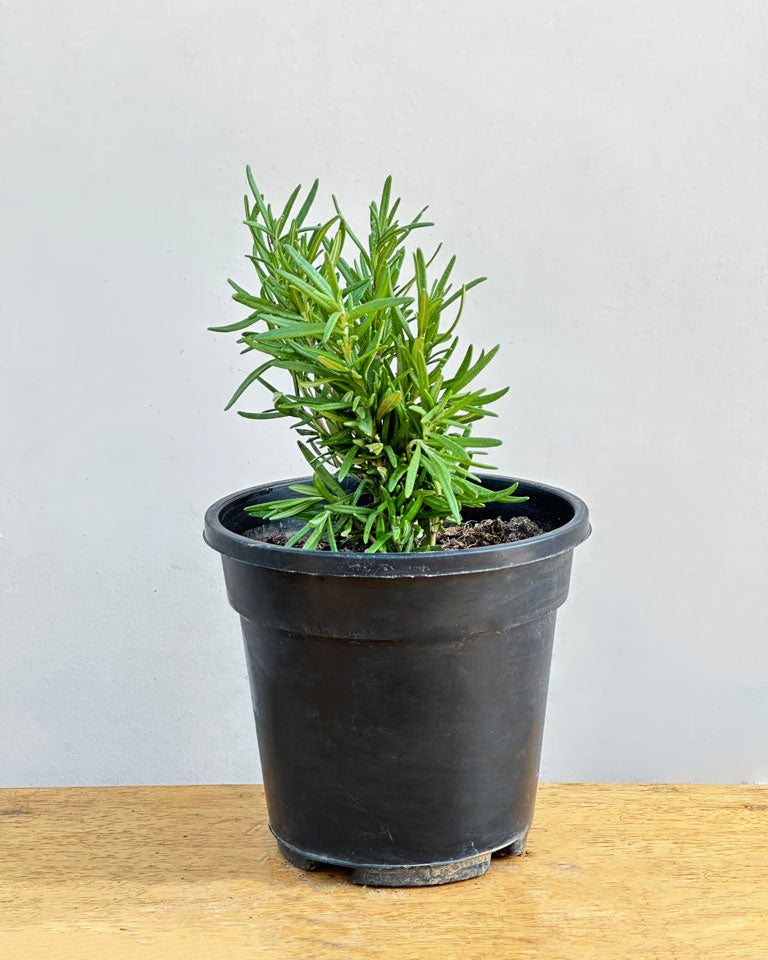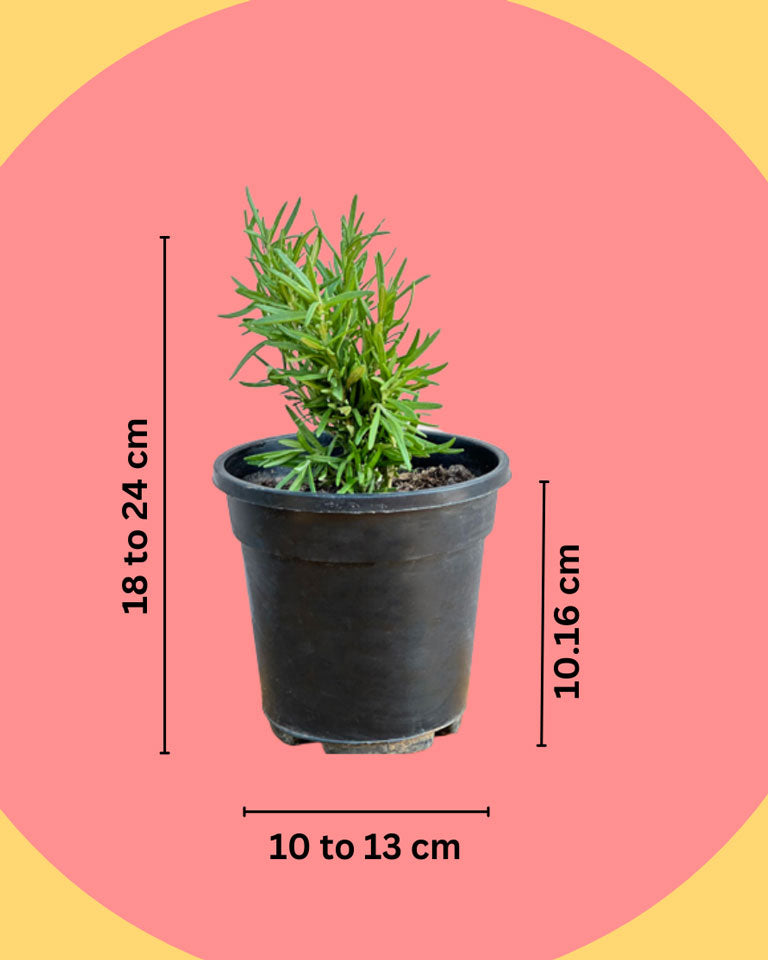

When & How to Repot Plants Safely
Repotting your plants may sound like a complicated task, but we have a few tips for you to make it a victory.
First things first: unless your planter has a crack in it or your plant is outgrowing the pot size, repotting isn’t mandatory. Changing its soil or using a better potting mix instead will do just fine. Now, this is excellent news if you adore your current planter, but if you have to shift to a new one, that’s fine, too.
While repotting, your top priority should be to keep the size of the new planter in check. Consider the size and type of your plants and DO NOT buy oversized planters. After we transfer our plants to a larger pot with more added soil, we will typically tend to water the plants more often. Here is the inevitable equation of what happens when we do so:
A tiny little plant in an oversized pot with lots of soil and a huge load of water = unintentionally killing the poor little plant with inconsiderate kindness.
You see, your green friends do not need to be in an ocean of soil and pools of water but just a little more room to grow happily for the years to come.
But isn’t it a tough task to understand your plants? Isn’t it complicated to understand when and how one should repot plants? Trust us when we say this- ALL YOU NEED TO DO IS OBSERVE A LITTLE MORE THAN YOU DO. So, let’s take a look at the signs which signify that it’s time for you to transfer them to new pots:
- Roots growing throughout the drainage hole that’s at the bottom of the planters.
- The plants pushed up and out to the verge of the planters by the roots.
- Your plant seems to grow slower than usual.
- Your plants weigh more on the top such that they make your pots fall over easily.
- When you see that your plants are drying up quicker than usual and need to be watered frequently, more than usual.
- The top of the plants just above the soil level of your planters look a lot bigger than the space of your pots.
- Notable salt and mineral deposit on different parts of the plants or their planters.
Now that you have got almost all your basics covered, let us drive you through the entire process that you need to follow for a successful plant-shifting session!
The list of things that you would require:
- Your plant that needs a new pot
- The pot or tub that you’re shifting your plant into.
- Fresh and efficient potting mix.
- A knife and rocks to cut out a drainage hole at the bottom of your new planter (just in case if it doesn’t already have one).
- Carefully separate your plant from the current pot

Hold your plant towards its sideways, take it up carefully by its stems and tap gently at the bottom of its current pot until it slides out completely. This might need some extra help of some gentle tugs on the base of its stems.
- Gently release the roots of your plant
Gently loosen the roots of the plants with your hands. You can clip off some of the long threadlike but make sure that you don’t hurt the thicker roots and just try to leave them at the base instead. If you see that the roots have grown into very tight circles and are heavily tangled, try to untangle them gently with your fingers and opt for a harmless trim.
- Transfer the old potting mix into another vessel
Transfer approximately one-third or more of the old potting mix into another vessel. Most of the nutrients of the old potting mix have been used up by your plant as it grew. So, mix the remaining with fresh and efficient potting mix every time you repot your plants. Pack the mixture down properly, ensuring that there are no air pockets.
- Run a drainage hole-check
Make sure the new planter has a drainage hole or make one. If not, make a layer at the bottom of the planter with rocks and gravels to keep the roots away from the extra water collected.
- Fix the plant

Set your plant on the top of the new mixture, adjust it to the center, and add some more of the potting mix until it’s secure. Do not overdo it and leave some room for the roots to breathe too.
- Pour the right amount of water
Note that you do not need to fed fertilizer to a freshly potted plant. Just even out the potting mix on top, shower your plant with the right amount of water, and VOILA!
Pat yourself on the back for successfully repotting your green buddy.
Related post


10
Apr